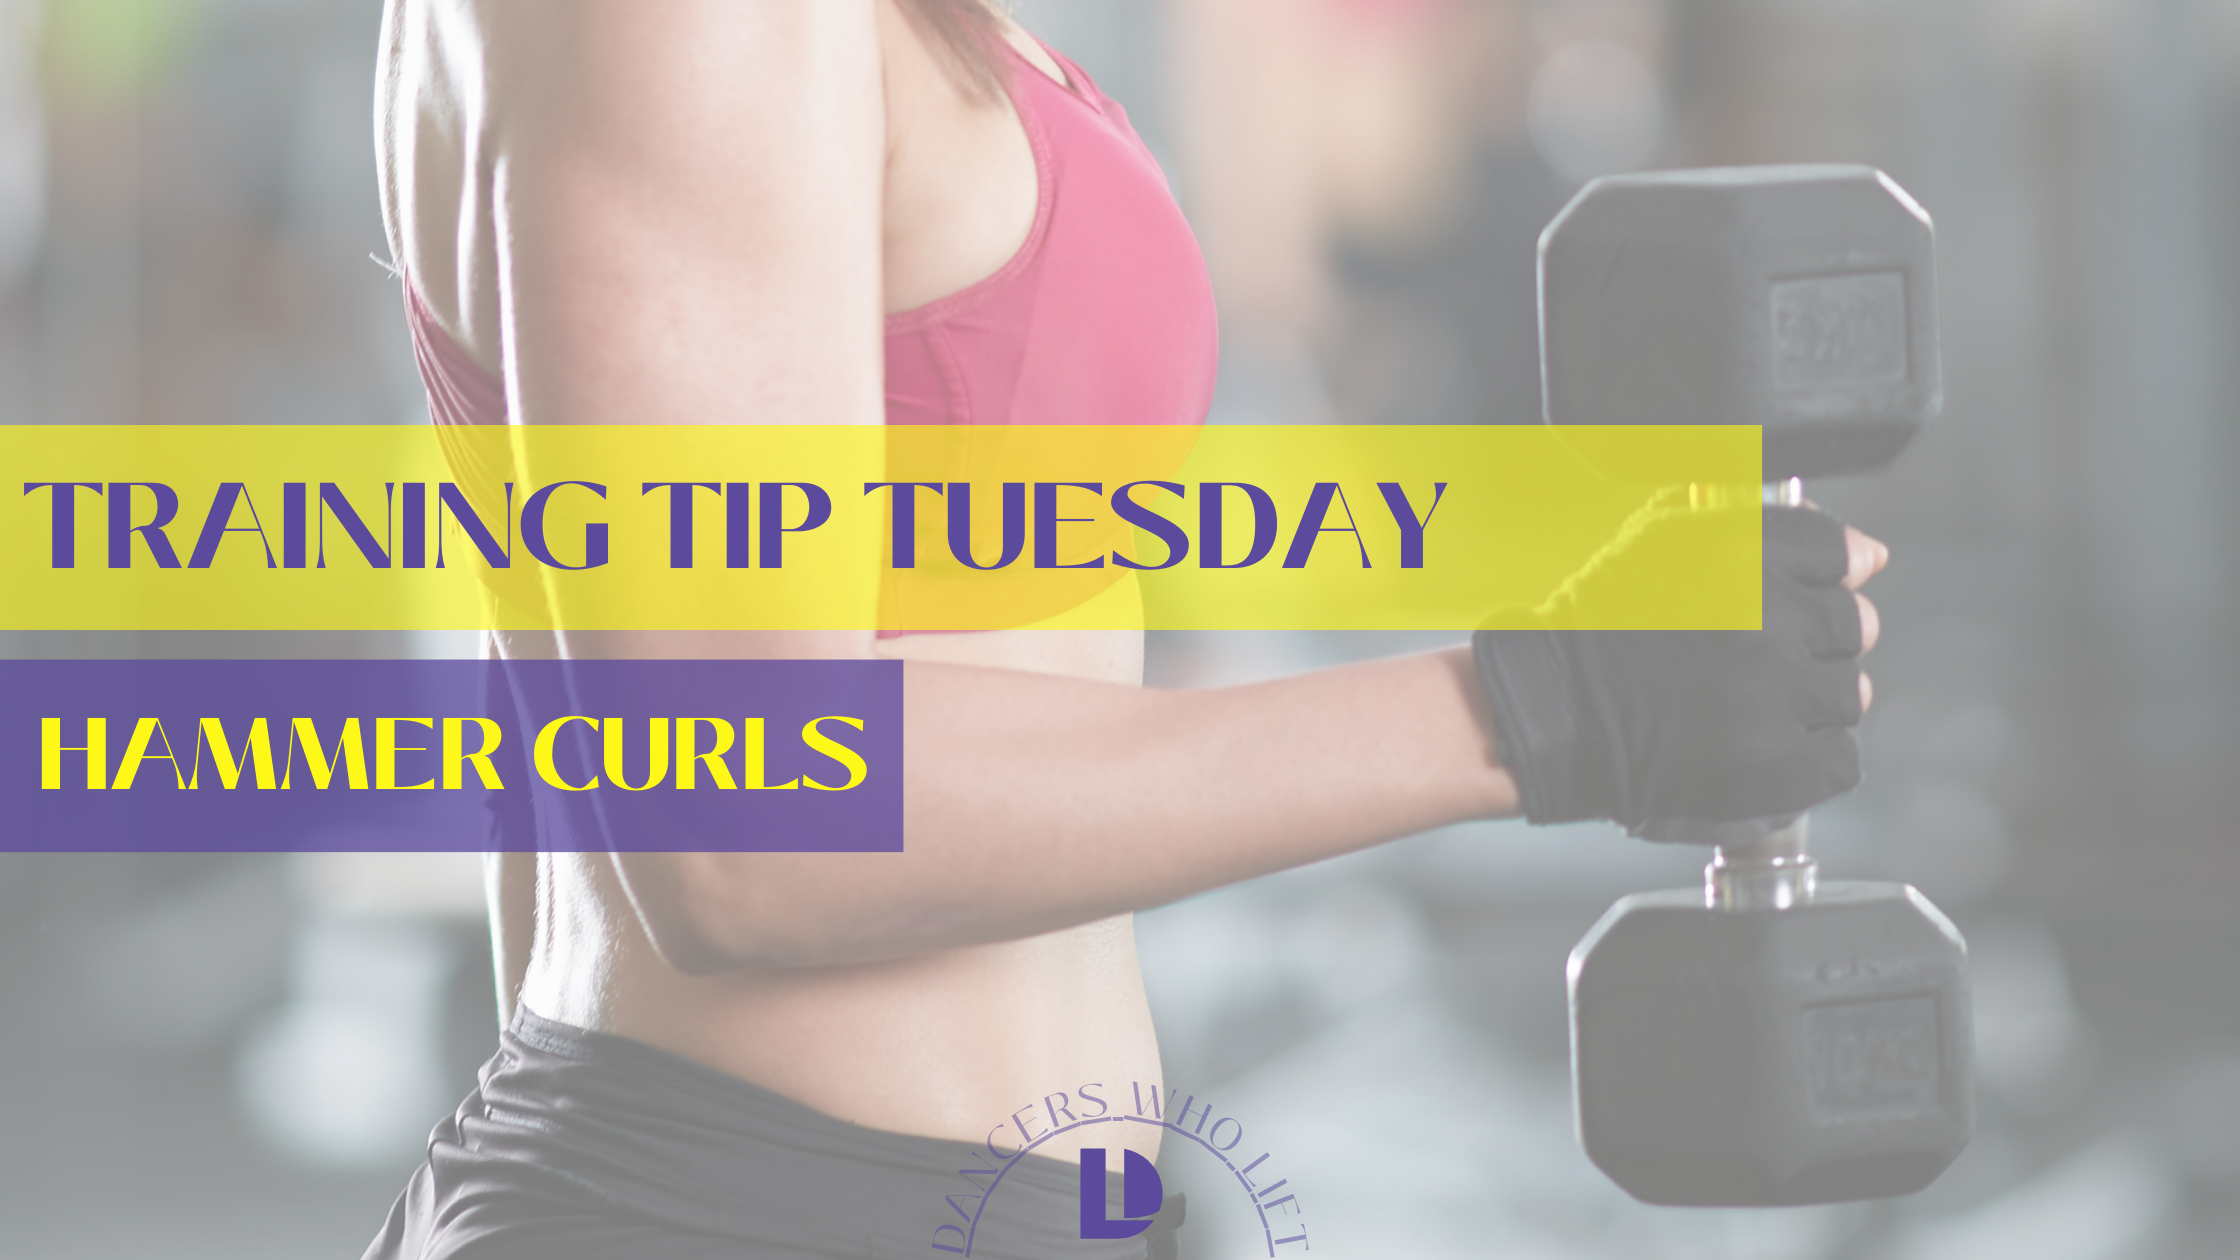
Let’s talk hammer curls- a two for one upper body exercise!
As dancers, the upper body is seen as “less than” compared to our legs that do all the work. But in my opinion, the legs may seem to do all the work but the upper body is where the extension of the performance is!
After all, why else would there be countless workouts on social media labeled as “Dancer Arms Workout.” And you best believe my ballet teacher growing up worked our port de bras to the bone at the barre.
And while a lot of us dancers love a leg day because it’s where we feel comfortable, working our arms in the gym is equally important.
That’s why today’s training tip is all about how to perform hammer curls.
Now, hammer curls are a bit different than your traditional bicep curl.
Due to its varied grip, the hammer curl works not only the “biceps brachii but the brachioradialis as well.”
These muscle is helpful in assisting elbow joint and wrist movements, such as lifting and carrying any object or pushing/pulling objects.
So, needless to say, hammer curls are helpful for everyday motions.
If you start adding hammer curls into your routine, you help increase wrist stability and improve grip strength. (Can you say stable inversions and deadlift PRs?)
Let’s breakdown Hammer Curls, shall we?
Start by standing with your legs straight, hips and knees aligned , keeping a tiny bend in your knees. Your arms should start down by your side with a dumbbell in each hand and palms facing inward (like you’re holding a hammer).
Slowly roll those shoulders down away from your ears and keep them relaxed.
Then bend at the elbows and lift the lower arms slowly pulling the weight to your shoulders. Make sure only your forearm is moving by ensuring your elbows remain directly by your sides.
Once you hit the top of the movement (usually a little bit above 90) hold for a one second pause. Again, keeping your palms facing in toward the midline of the body.
Finally, slowly lower the weights to return to the starting position. Again, keep those elbows in place. Don’t let them drift forward to assist you.
Want a clear visual?
Check out this video to see Coach Mel in action!
Take inventory of how this grip makes your bicep lift feel different. Likely, you’ll be sore in a few new places tomorrow or the next day, but don’t worry, that’s just a D.O.M.s. Overtime your body will adjust to the new grip and you’ll be moving back up in weight in no time!
Have questions? Drop them in the comments or shoot us a DM @dancerswholift on Instagram and Tiktok.
Want more tips like this? Here are a few we think you might like: Making a Split Decision: Tips and Tricks on How to Get Your Splits, Leg Day: Perform At Your Own Risk, Practicing Emotional Self Care: Common Mistakes High Performance Humans Make

