
An animal workout, also known as quadrupedal movement training, is shown to improve flexibility, movement quality, and balance! Another bonus? They’re loads of fun!
I don’t know about you, but it’s both humbling and hilarious to recognize how challenging it is to crawl like a bear or crab. That’s why we love mixing it up with an animal workout.
So, for today, take your serious fitness athlete face away and have a little fun with your training — I promise, you’ll be just as tired as a traditional workout (and probably pretty sore from the change up in movement style!).

The Animal Workout
This workout is short and sweet. It’s designed to challenge your range of motion, fire up your core, and get your heart rate up without taking up a lot of time.
It clocks in at about 8 minutes in length and requires no equipment, making this animal workout the perfect option to get your body moving no matter what your circumstance.
The one thing you will need is space to crawl around without having to turn around too many times.
This animal workout circuit consists of four exercises and you won’t take your first rest until you’ve completed the circuit.
So, are you read? Go find an open field, dance studio, or hallway and let’s get started.
Duck Walks x4/leg
First up in our animal workout is duck walks!
Now, if you’ve got stiff or achy knees, just do lunges to a comfortable depth instead of these.
But, if your knees are in good shape, get ready for a serious quad burn!
To get into as low of a squat as you can with your legs turned out.
From here, take a step forward, letting your opposite knee turn down toward the floor and alternate to walk across the floor.
*Perform four steps per side (8 total steps) then immediately move on to the next exercise.*
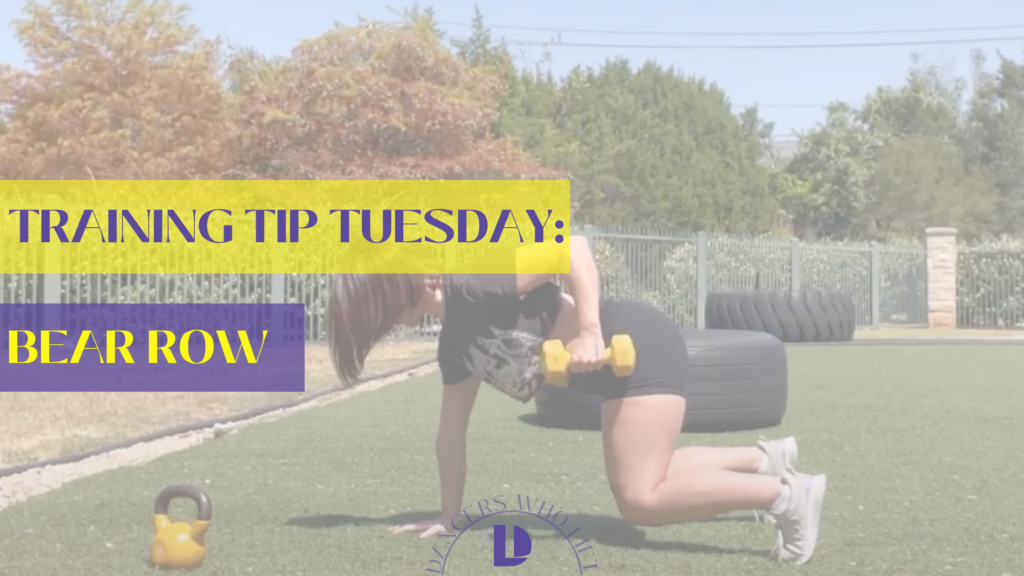
Bear Crawls x20 total
You might be familiar with this animal exercise, but just in case:
Get on all fours.
Press into your hands, letting your shoulders roll down your back.
Next, engage your core; closing your ribcage and pulling your belly button to spine.
Finally, tuck your toes and lift your knees one inch off the ground.
Don’t let your booty shoot up toward the ceiling! Instead, Imagine someone has rested a tea set on your back and you don’t want it to fall to the ground and shatter!
*Maintaining this position crawl around the room until you reach 20 total “steps.” Immediately move on to the next exercise.*
Crab walks x8 total
This, IMHO is the silliest of our animal workout exercises.
You see the bear crawl form above? Flip it over.
Yep, for crab walks you’ll begin by sitting on your tush with your arms behind you.
Pressing into your hands and feet, keeping your shoulders down, lift your hips, up toward the ceiling, as high as you can.
*In this position, take eight total “steps” by crawling. Immediately move on to the next exercise.
Lateral Bear Crawl x10 total
Remember the bear crawl from earlier? Next up in this animal workout is the lateral bear crawl.
Set up exactly as you did for the bear crawl only this time, instead of crawling forward, crawl side to side.
You’ll quickly notice this challenges your core very differently than the forward bear crawl. While you’ll still need to keep your back flat, more challenging than keeping your booty down, will be keeping your hips even as you side step.
*Perform ten total “steps” then, take a 20 second rest before starting the circuit over again.*
Wrap It Up!
To complete today’s animal workout, go through the circuit 4 times. If you’re seriously masochistic, rest 2-3 minutes
then repeat whole thing from the top.
You’ve got this!
Want more workouts like this? Tune into the blog every Wednesday for a free workout!
Can’t wait til then? Check out these fitness tips, tricks, and workouts to tide you over: Should Dancers Run? The Surprising Health Benefits of Running, Explained, Leaping For Joy: A Dancer’s Guide on How to Jump Higher, In and Out Fully Body Workout For Dancers