y-raise, how to do a y-raise, training tip

Training Tip Tuesday: Y-Raise

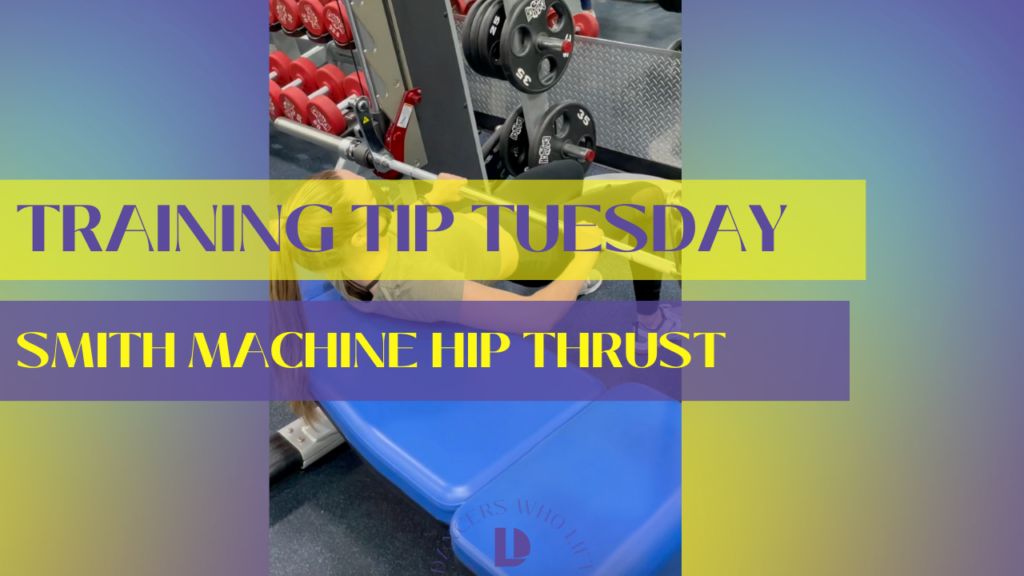
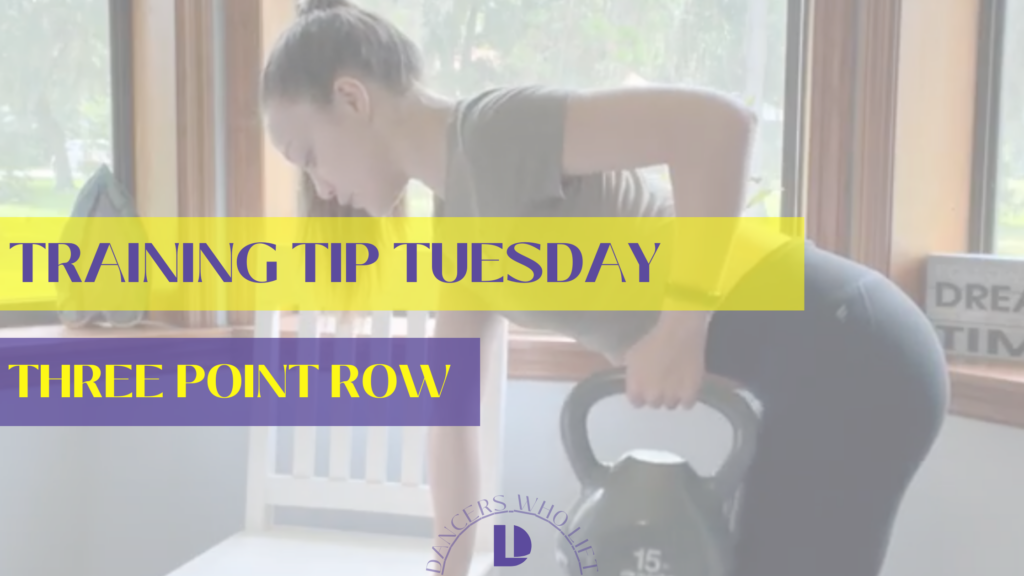
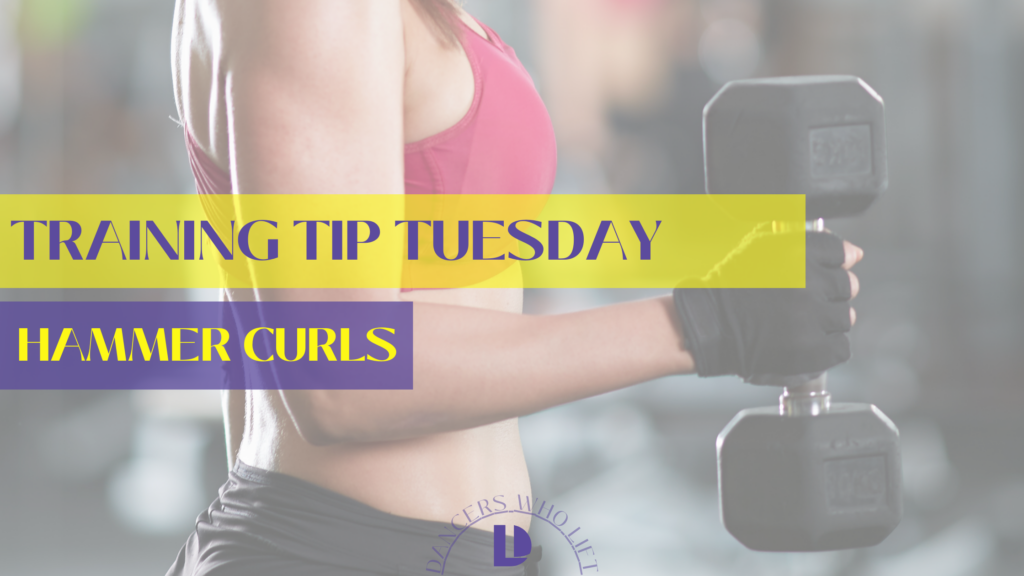
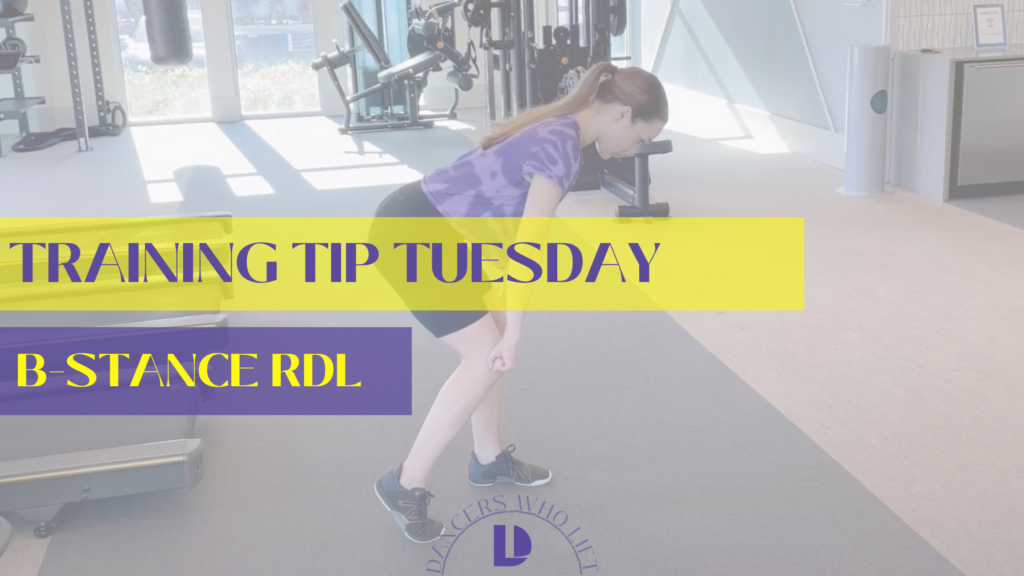
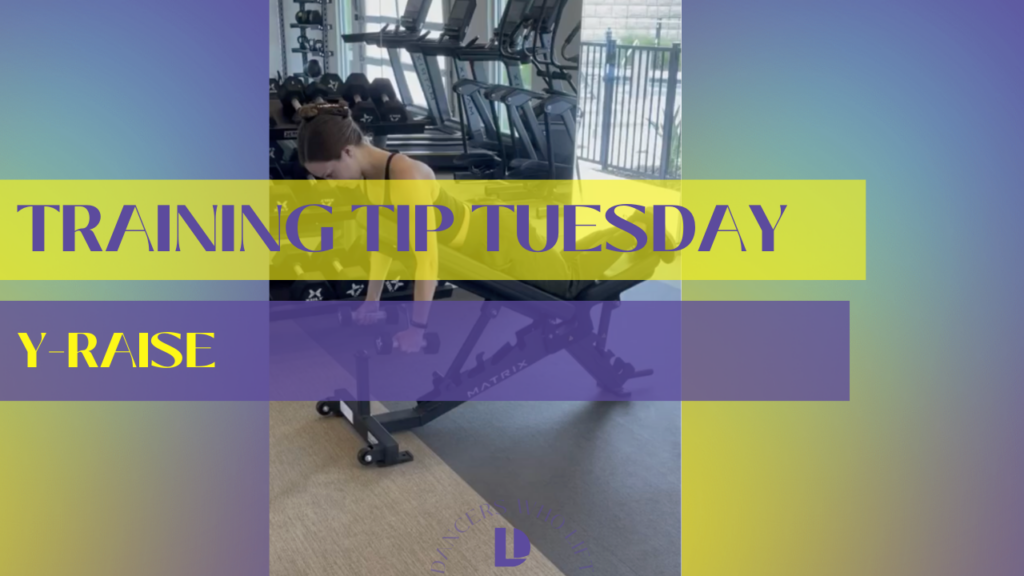
Happy Training Tip Tuesday! Today we are telling you everything you need to know about the Y-Raise!

What is a Y-Raise, You Ask?

A Y-raise is a scapular/mid-back exercise that helps us strengthen our scapular retraction – in other words- this exercise helps maintain proper alignment and good posture! 

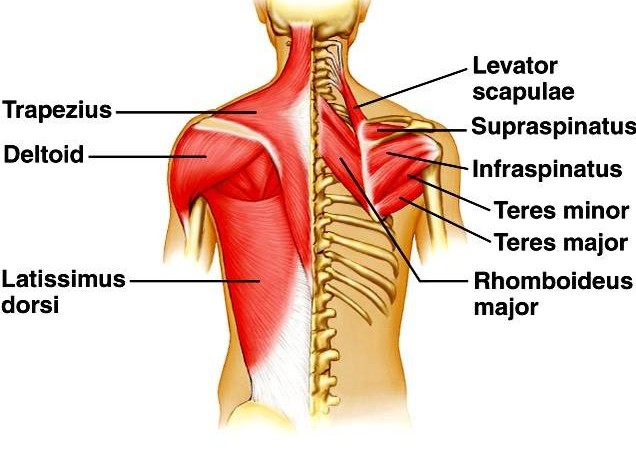
What muscles does the Y-Raise strengthen?

This exercise targets a variety of back muscles including:

  1. Supraspinatus
  2. Infraspinatus
  3. Teres minor
  4. Subscapularis
  5. Anterior Deltoid
  6. Lower Trapezius

Here is a little diagram to help you visualize: 

Y-raise muscles used

So How Do You Perform the Y-raise?

Follow these steps:

  1. Set yourself up on a bench angled at 45 degrees and lie with your chest on the pad. You can keep your feet on the ground if you are tall enough, or if you are short like me, kneel on the headrest of the bench so your neck and head extend off the top of the bench.
  2. Hold a dumbbell in each hand (you won’t need a lot of weight to feel this exercise), with a neutral grip: palms facing each other. Allow your hands to drop straight toward the ground on either side of the bench.
  3. Keeping a soft bend in the elbows, raise your arms (keeping that neutral grip) on a slight diagonal to align with your head making a “Y” shape. 
  4. Lower arms back down to the starting position.

Still have questions? Here are a few extra technique tips to look for:

  1. Keep your spine aligned and don’t let your head drop
  2. Keep your shoulders down and don’t let them rise into your ears
  3. Keep thumbs pointing towards the sky the entire time

Good luck and let us know how it goes!


Want more training tips like these? Check out: FLEXIBILITY vs. MOBILITY: Is passive stretching overrated?, Training Tip Tuesday: kneeling thoracic extension stretch, What is a Rest Day? The Key To Unlocking Your Progress

Smith Machine Hip Thrust

Training Tip Tuesday: Smith Machine Hip Thrust

Happy Training Tip Tuesday! Today we are talking about the Smith Machine hip thrust. 

Using a Smith Machine to perform hip thrusts is a great way to introduce yourself to barbell hip thrusts.

Because the barbell is gliding on the machine, the Smith machine hip thrust offers more stability. This is great for dancers still building stability in their knees or hips before jumping straight into regular hip thrusts. It’s also a great option when going for a personal record to add extra stability, or, if you find getting under the barbell challenging. 

So, want to learn how to set up this lift?


personal training for dancers


Setting up the Smith Machine Hip Thrust

  • Set up your bench

First things first, grab a bench and set it up the long way in front of the Smith machine. (The bench should make a sort of wall between the posts of the Smith Machine)

  • Lower the Bar

Next, lower the bar so it is near where you need it, but there is still enough room to get underneath it. 

  • Get Into Position

Now, set yourself up for the lift. So, just like a regular hip thrust, lean your shoulder blades against the edge of the bench, and lift your hips so they are underneath the barbell. 

Now, rotate the bar to release it and gently lower it onto your hips. If you need to use a towel or a barbell pad to protect your hipbones, feel free!

  • Perform the Hip Thrust

To perform the hip thrust, look down toward your belly button and engage your core. Moving your body as one solid piece (no arching in the lower spine!) hinge your hips toward the floor. (your shoulder blades should be the fulcrum for your balance)

At the bottom, squeeze your glutes to thrust your hips back up to the starting position – again, no arching the back!

Perform as many reps as necessary, then, rotate the bar back onto the machine and take your rest. 

Wait, I Can’t Picture It…

That’s okay! We have a form video of Coach Kiersten Performing the Smith Machine Hip Thrust, here.

Her machine has the safeties on so her range of motion is limited. But your setup and form should be exactly the same!


Want more tips like this? Check out these training tips and workouts: Dead Bug Exercises: Variations for a Stable Core, Leaping For Joy: A Dancer’s Guide on How to Jump Higher, Building Power with Poise: Dumbbell & Band Workout for Dancers

Three pointe row exercise form

Training Tip Tuesday: Three Point Row

The three point row is one of those exercises that looks simple enough, but it’s easy to cheat your form. 

That’s why today’s training tip Tuesday is breaking down exactly how to set up and perform the three point row so you can get the most out of your lifting session. 

Shall we dive in?

Setting Up

For this exercise you’ll need a chair, bench or box that’s low enough to give you a hinge in your hips, but not so low that your shoulders would be lower than your hips.  

Set your weight on the floor next to the bench so you’ll be able to easily pick it up once you’re in position. 

How to Three Point Row

Now that you have your bench, hinge your hips (like you’re about to deadlift) and place your hand on the bench.

Ideally this hand is directly underneath your shoulder, though slightly for ward is okay if needed. Just make sure your hand doesn’t go so far forward that you’re tempted to arch your back!

In this bent over position, abs should be knitted together and supporting a strong stable spine. Your hips should be even  and you should think about lengthening long out of the top of your head. 

Next, pick up your weight. Once the weight is in your hands, roll your shoulder down and back, engaging your lats to stabilize the working side of your body. Don’t let that weight pull your shoulder down and forward- use those back muscles!

Finally, keeping your elbow close to your body, pull your hand back toward your hip to row the weight. You should feel those lats engaging to pull the weight. 

As you row, keep your body completely still.

Just like birddogs, three point rows work your stabilizers as much as the muscle group performing the action. So, don’t let your working shoulder twist your body open, and don’t let those hips get involved!

Remember, it’s okay to go down in weight if you over estimated! Three point rows are challenging when performed with excellent form. Take your time getting stronger!

If you’d like to see a form video, check out this how-to from Coach Kierstin!

And there you have it! Everything you need to know about the three point row! 


Looking for more fitness tips, nutrition tricks, and dance focused personal training? Give these quick reads a glance: Workout Wednesday: The Floor Workout,Training Tip Tuesday: Confidence Corner, the Gymitmidation Secret, The Pros and Cons of Creatine: Busting the Myths and Revealing the Facts

hammer curls, how to do a hammer curl

Training Tip Tuesday: Hammer Curls

Let’s talk hammer curls- a two for one upper body exercise!

As dancers, the upper body is seen as “less than” compared to our legs that do all the work. But in my opinion, the legs may seem to do all the work but the upper body is where the extension of the performance is!

 After all, why else would there be countless workouts on social media labeled as “Dancer Arms Workout.” And you best believe my ballet teacher growing up worked our port de bras to the bone at the barre.

And while a lot of us dancers love a leg day because it’s where we feel comfortable, working our arms in the gym is equally important. 

That’s why today’s training tip is all about how to perform hammer curls. 


Now, hammer curls are a bit different than your traditional bicep curl.

Due to its varied grip, the hammer curl works not only the  “biceps brachii but the brachioradialis as well.”

These muscle is helpful in assisting elbow joint and wrist movements, such as lifting and carrying any object or pushing/pulling objects.

So, needless to say, hammer curls are helpful for everyday motions.

If you start adding hammer curls into your routine, you help increase wrist stability and improve grip strength. (Can you say stable inversions and deadlift PRs?)


Let’s breakdown Hammer Curls, shall we?   

Start by standing with your legs straight, hips and knees aligned , keeping a tiny bend in your knees. Your arms should start down by your side with a dumbbell in each hand and palms facing inward (like you’re holding a hammer).

Slowly roll those shoulders down away from your ears and keep them relaxed.

Then bend at the elbows and lift the lower arms slowly pulling the weight to your shoulders. Make sure only your forearm is moving by ensuring your elbows remain directly by your sides.

Once you hit the top of the movement (usually a little bit above 90) hold for a one second pause. Again, keeping your palms facing in toward the midline of the body.

Finally, slowly lower the weights to return to the starting position. Again, keep those elbows in place. Don’t let them drift forward to assist you. 

Want a clear visual? 

Check out this video to see Coach Mel in action!

Take inventory of how this grip makes your bicep lift feel different. Likely, you’ll be sore in a few new places tomorrow or the next day, but don’t worry, that’s just a D.O.M.s. Overtime your body will adjust to the new grip and you’ll be moving back up in weight in no time!


Have questions? Drop them in the comments or shoot us a DM @dancerswholift on Instagram and Tiktok. 

Want more tips like this? Here are a few we think you might like: Making a Split Decision: Tips and Tricks on How to Get Your Splits, Leg Day: Perform At Your Own Risk, Practicing Emotional Self Care: Common Mistakes High Performance Humans Make

Training Tip Tuesday: Confidence Corner, the Gymtimidation Secret

Gymtimidation: (also known as gym anxiety) is the anxiety a person feels about going to, or working out in, a gym. It’s a common experience with studies showing that 1 in 2 people struggle with this intimidation issue!

If you’re a new gym goer, returning after a break, or not a fan of working out around other people, gymtimidation can easily keep you from your goals. 

That’s why this week’s training tip is to create a *confidence corner* at your gym! 

What is a Confidence Corner, You Ask?

A confidence corner is a low-traffic, quiet area of the gym where you can complete your workout without really having to interact with anyone. It requires that you move whatever dumbbells or bands you might need to that area, but otherwise, it’s no fuss no muss. 

Once you’ve located your “space,” pick 6 exercises and pair them up to create a superset.

Decide what weights or equipment you might need for those exercises and set up camp in your low-traffic “spot.” 

(If you’re concerned about hogging weights, just ensure that you’re only using 2-3 pairs of dumbbells. A great way to do this is to mix and match exercises that used bands, steps or blocks as resistance so you don’t have to hoard every weight in your corner.)

Now you can flow through your exercises with confidence from your low-traffic corner of the gym! Gymtimidation, who?!

And remember, you deserve space at the gym just as much as anyone else! 

Want to see an example? Check out this video of Coach Amber building her confidence corner!

mindfulness for self-care, mental health support for injury recovery


Not sure how to “choose” which exercises to do?

This flow chart might help jog your brain when you’re building a workout! And don’t be fooled by the title! Add a dumbbell or band to any of these exercises and BAM! You’ve got resistance!

Choose your 6 confidence corner exercises from this chart and your gymtimidation will fly out the window!

Still not sure you’ve built a workout you’re happy with? Here’s a quick workout you can do with a couple pairs of dumbbells in your confidence corner. 


Want more from Dancers Who Lift? Here are a few recent posts we think you’ll love: Exceed Your Own Expectations: How to Use the Principle of Progression to Overcome Plateaus, The All-Day Workout: A.K.A. “The Day Player”,,How to Track Macros Like a Pro

B-stance RDL

Training Tip Tuesday: B-stance RDL

Welcome back to Training  Tip Tuesday! Today I’m giving you some tips on how to properly perform a B-Stance Romanian Deadlift (B-stance RDL).

Before we go any further let’s make sure we know how to answer this question,

What is a B-stance?

B-stance simply means we are shifting the weight distribution in our feet from an even 50/50 to a 80/20 (sometimes referred to as a staggered stance).  Essentially, we are adding more load onto one leg to build additional strength before jumping straight into a single-leg exercise. 

Think of B-stance as the training wheels before you go for the full single leg variation! 

In the case of a B-stance RDL, we are able to use the B-stance to start focusing on the strength and stability of one hamstring at a time.

B-stance RDL’s are also a great way to discover possible imbalances between the two sides of your body! This gives you and your trainer the information you need to improve those imbalances. 


Free 5 Day Turn Course dance workout


How Do I Perform a B-Stance RDL?

To step up your B-stance RDL, first, set yourself up in your traditional RDL stance. Shoulders over hips, core braced, soft knees. 

Then, keeping your knees in alignment, step one foot sightly behind you placing your weight on your toes like a kickstand. 

80% of your weight should be supported by your flat stance foot, and the other 20% should be supported by the kickstand. 

To get the most out of the B-stance RDL, make sure to hip both hips facing forward.

Maintain the soft bend in your knees, but just like a traditional RDL or single-leg RDL, the B-stance RDL is mostly a hip-hinge exercise.

So, to perform, slide your hands/weights, down the front of your thighs by hinging your hips backward. To return to standing, thrust your hips forward to return them to neutral. 

This ensures your B-stance RDL will remain a lateral plain exercise, rather than a vertical plane exercise like a squat. 

Want to Check your Form?

Check out this video of Coach Kierstin demonstrating how to properly perform a B-stance RDL! 


Want more training tips? Tune into the Dancers Who Lift Blog every Tuesday for a new tip.

Don’t want to wait? Here are a few quick reads we think are right up your alley: Training Tip Tuesday: Banded Spider Crawls, Performance vs Outcome Goals: The Role of Each In Productive Goal Setting, The Early Morning Workout